2020-06-14 19:44 — By Erik van Eykelen
Screencasting Tips
Recently I recorded a number of screencasts for TaskSift. If you're new to creating screencasts, like I was, you may find the following notes helpful.
Screencasting involves these steps:
- Preparing screens to record (walk-through of a web application in my case).
- Writing a script.
- Setting up your audio.
- Recording the screencast.
- Editing recorded footage.
- Publishing to e.g. YouTube.
It proved impossible for me to record a screencast in one take. I was unable to read (or memorize) the whole script, and click on all the right buttons in the proper order, and end up with a coherent result, all this in parallel and in real-time.
After some experimenting I ended up doing the following:
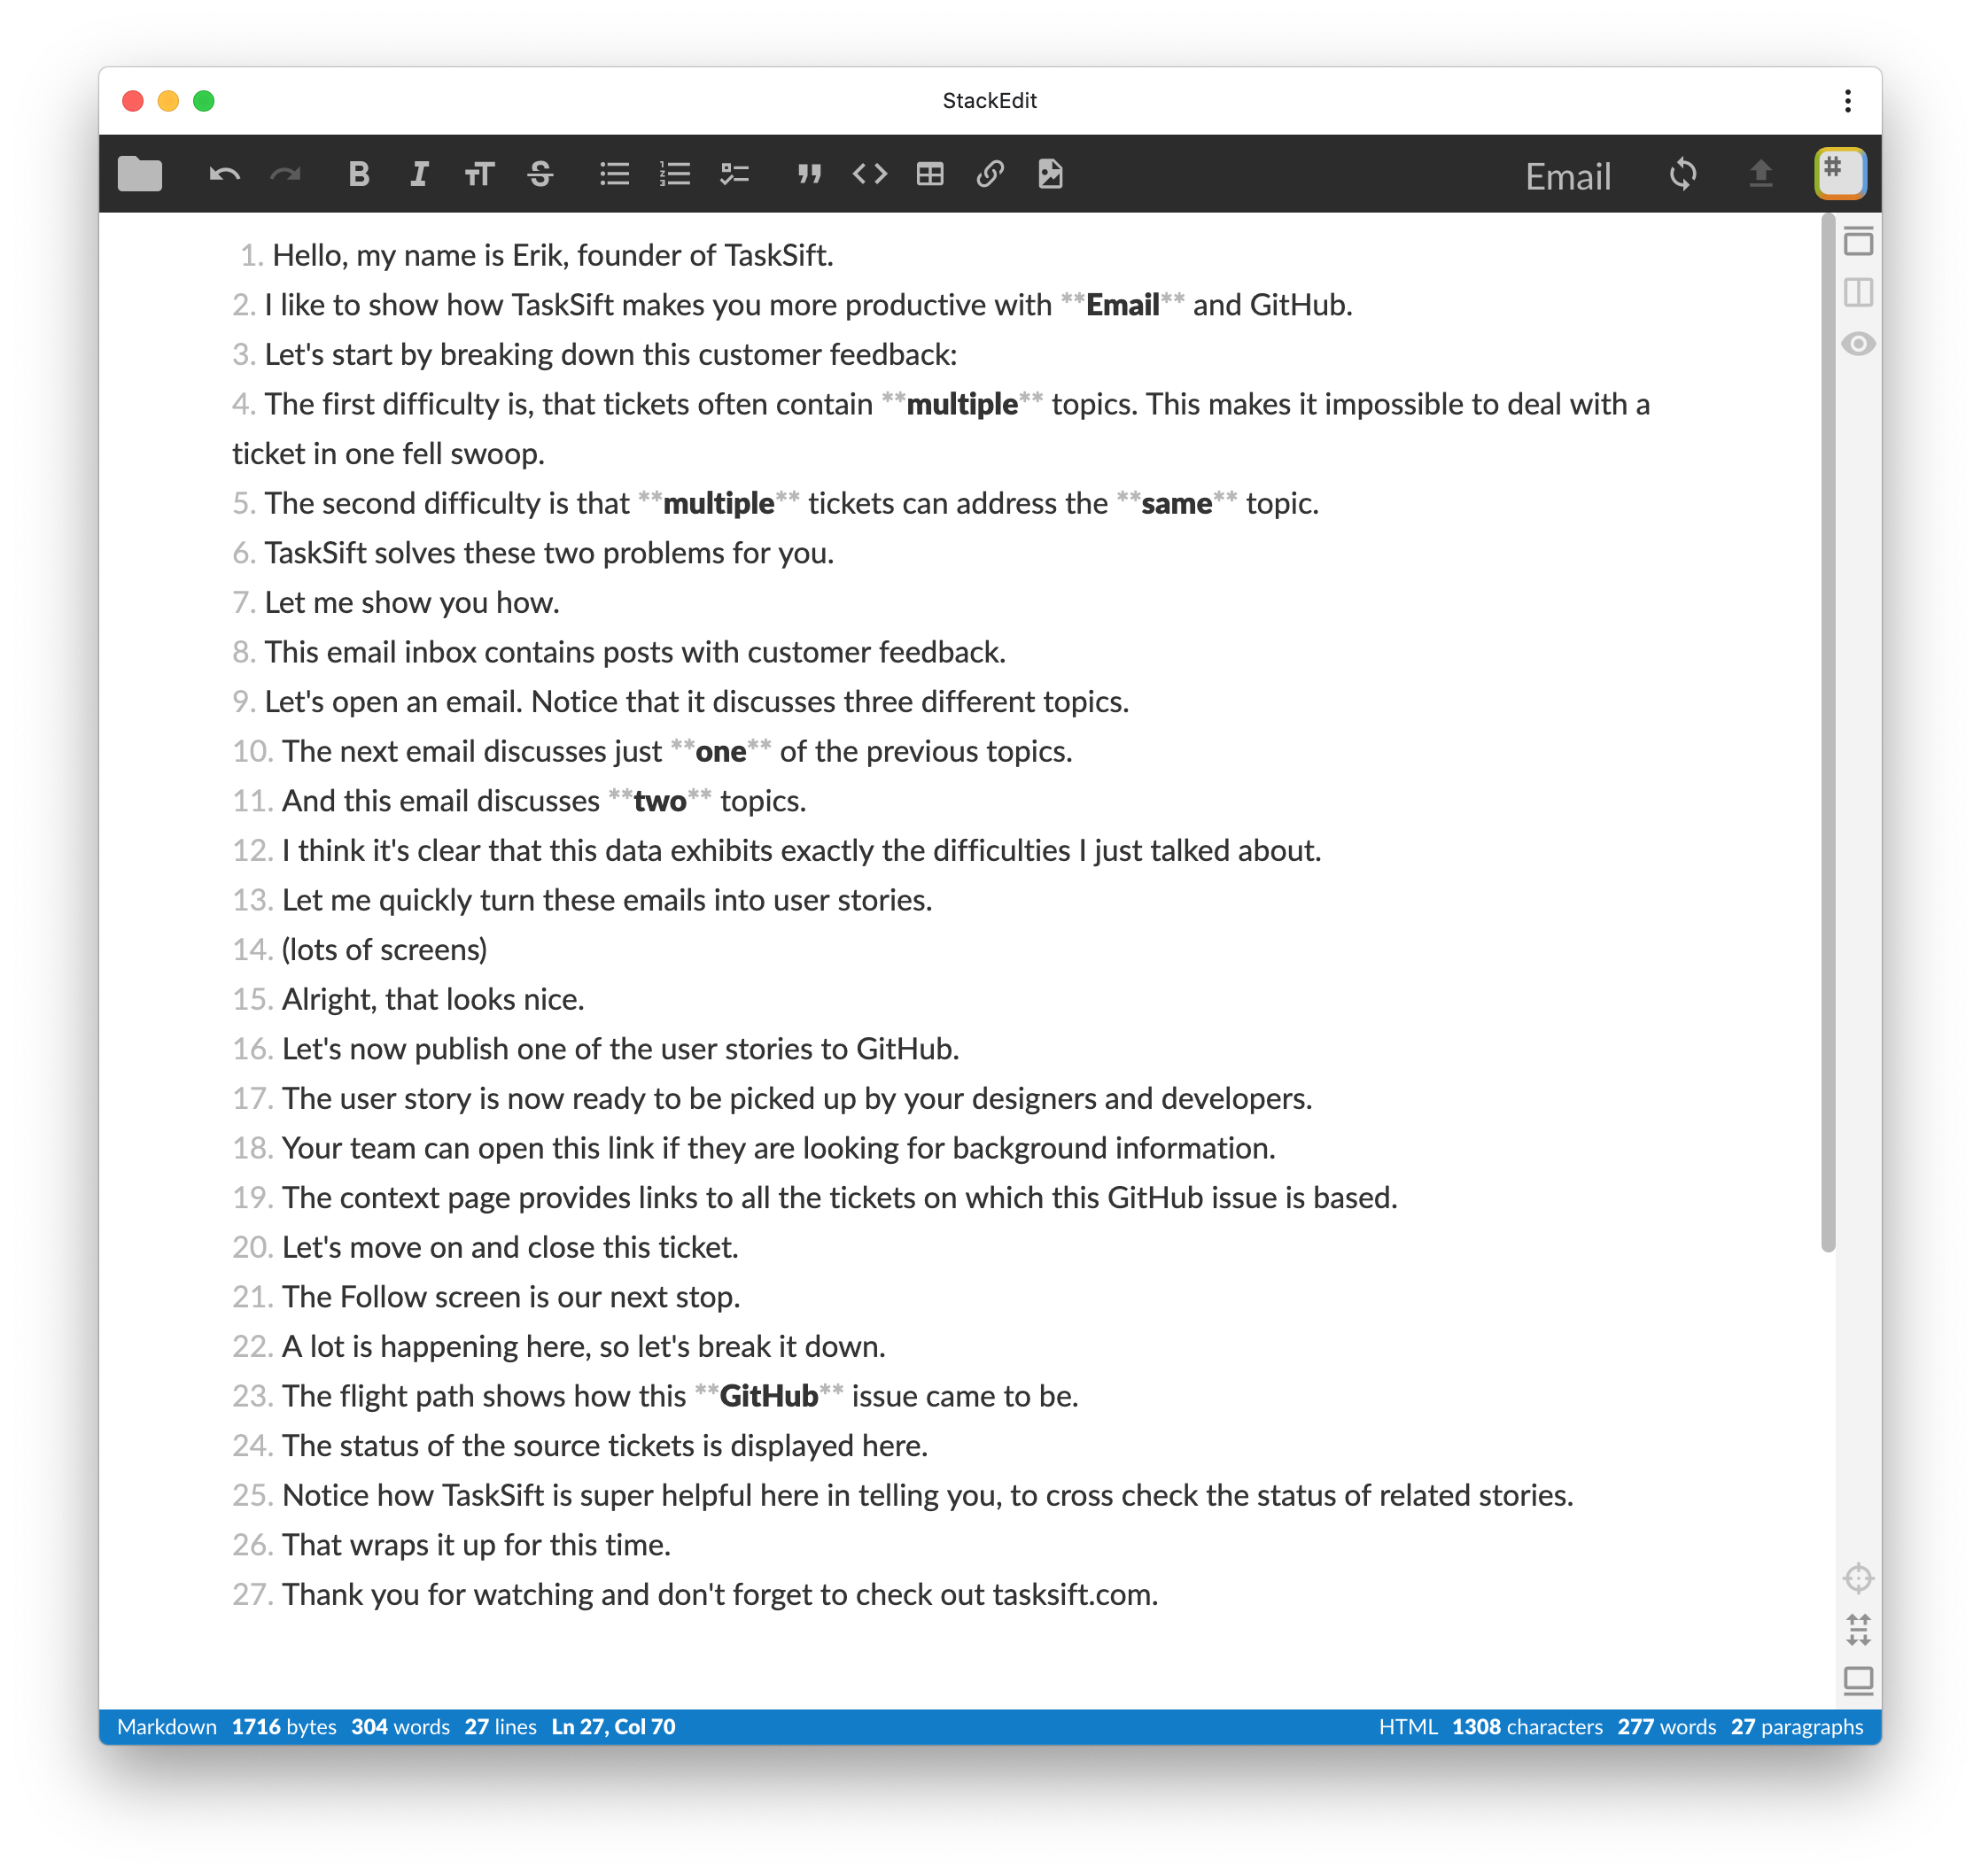
Script
I started by writing down what I wanted to say. This proved to have several benefits:
- It enabled me to compress what I wanted to explain down to a minimum number of sentences. I would never have achieved this optimum if I just started to blabber away.
- It provided a guide for which screenshots to take. Additionally, it enabled me to prepare test data for each of the screens because what I say has to correlate with what you see.
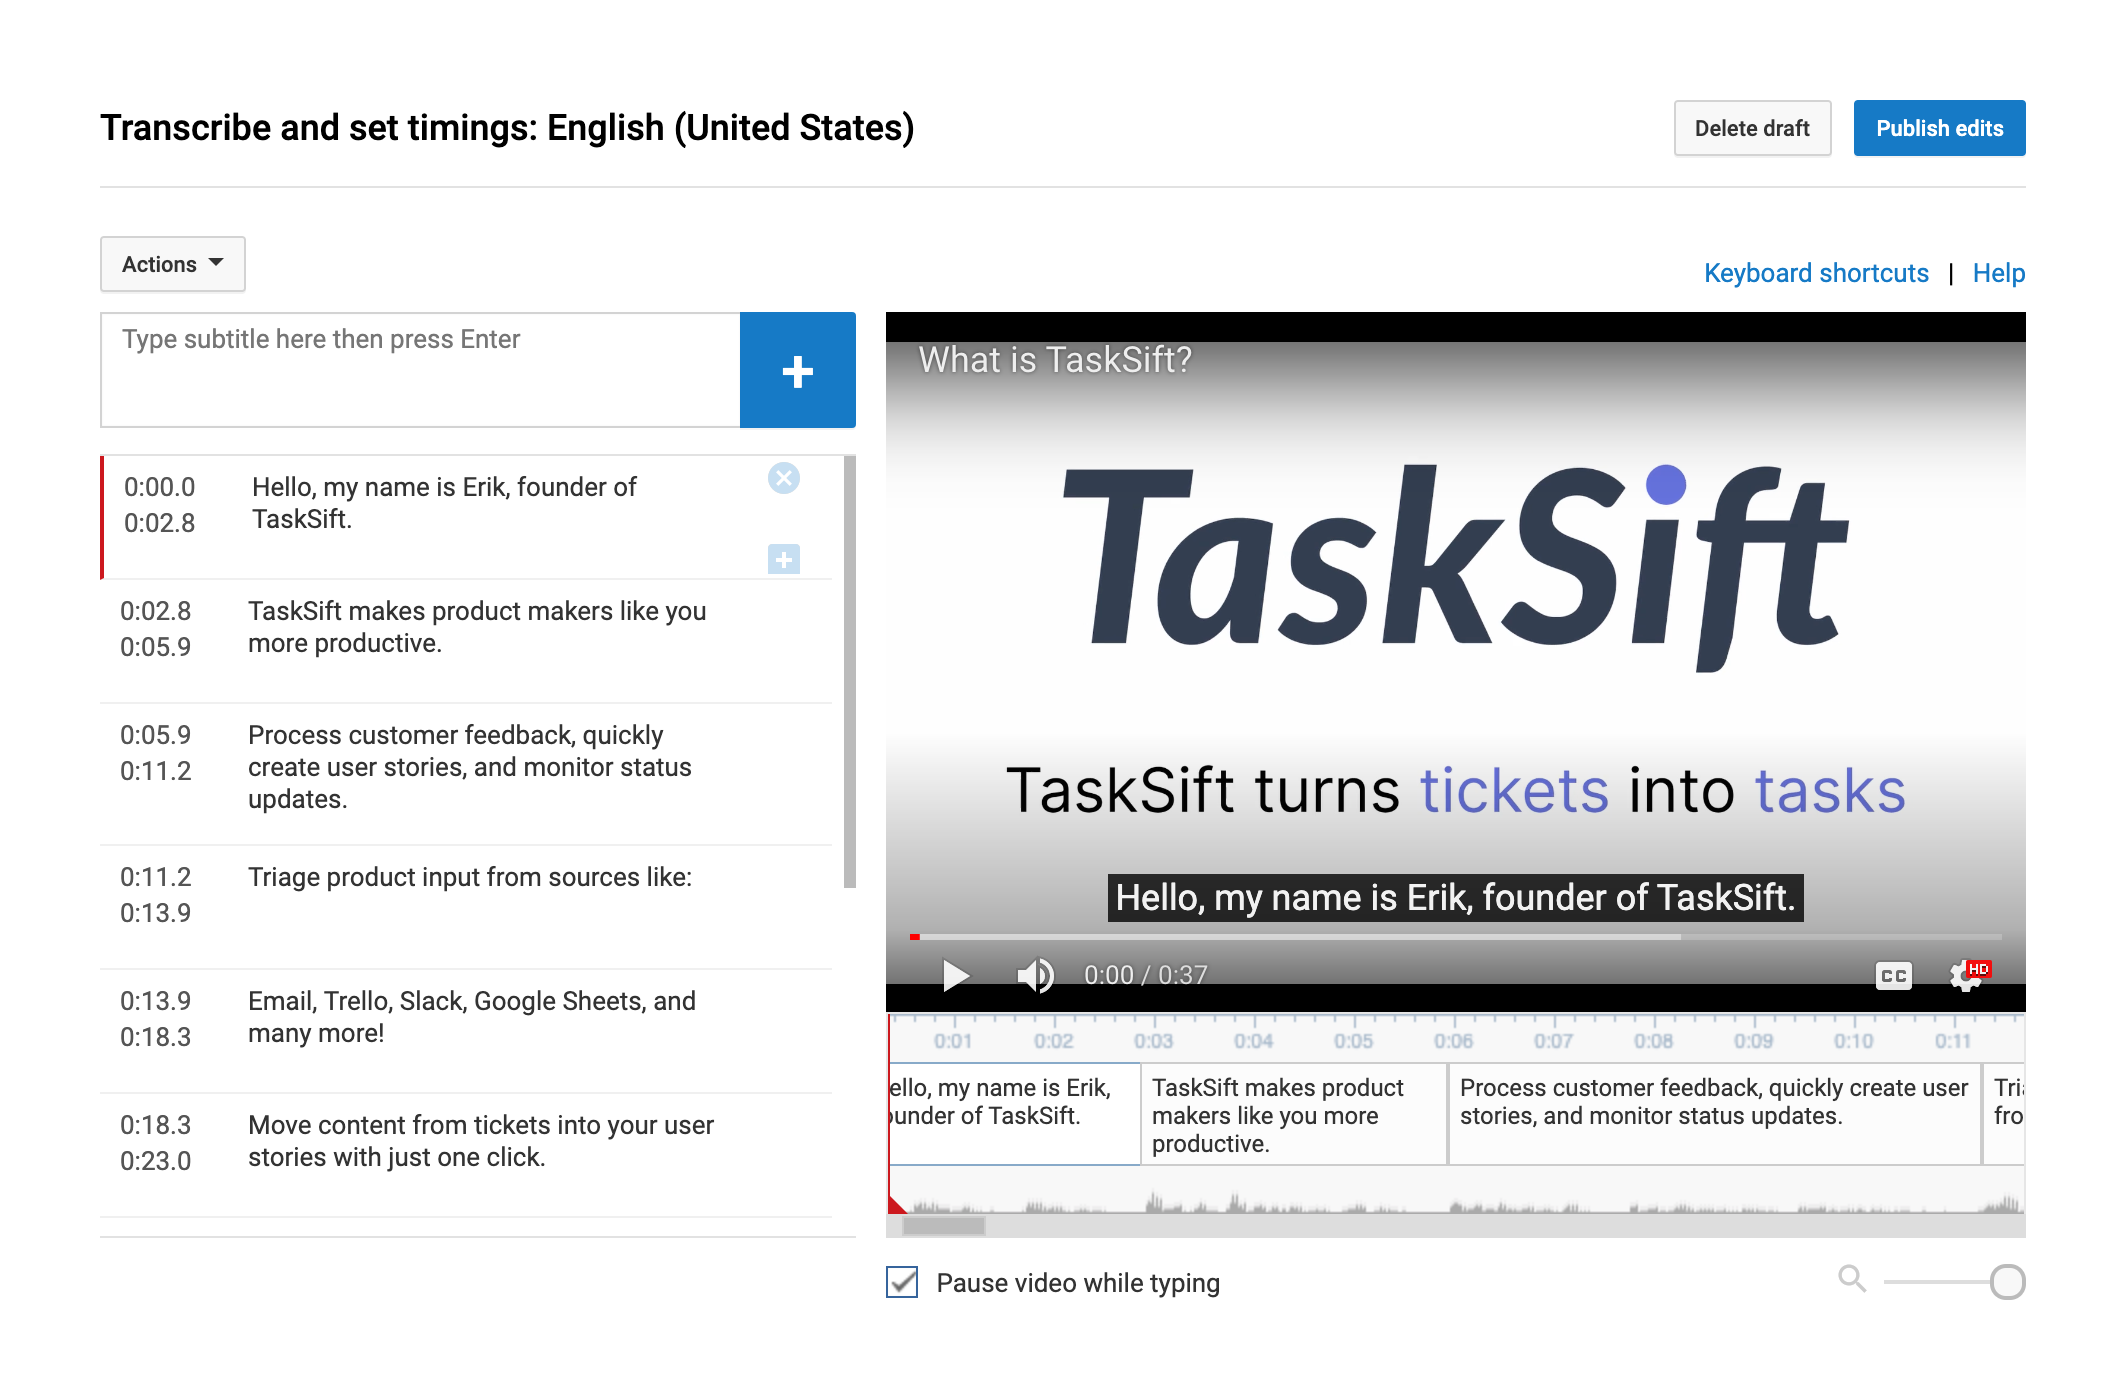
- As a bonus the resulting texts ended up being used as subtitles (closed captions) in YouTube (which, by the way, has a marvelous tool to manage CCs).
Stills
Then I created stills i.e. images of everything I wanted to show by taking screenshots. Using stills versus actual screen recordings might come across as slightly "boring" but—for me at least—there was no other way of doing it. I hope, but I may be wrong here, that the end result enables the viewer to focus on the audio while soaking in the info presented by the stills.
Making screenshots is a time-consuming process because you have to prepare meaningful test data and reset it to its initial state each time you redo some of the screenshots. Scripted test data can help a lot!
Per screencast I ended up creating about 30 screenshots. I numbered each image using the line numbers from my script. To be quite honest, I revised the script here and there while taking the screenshots so I was glad I did not record the audio before taking the screenshots!
Audio
Next up, recording the audio track:
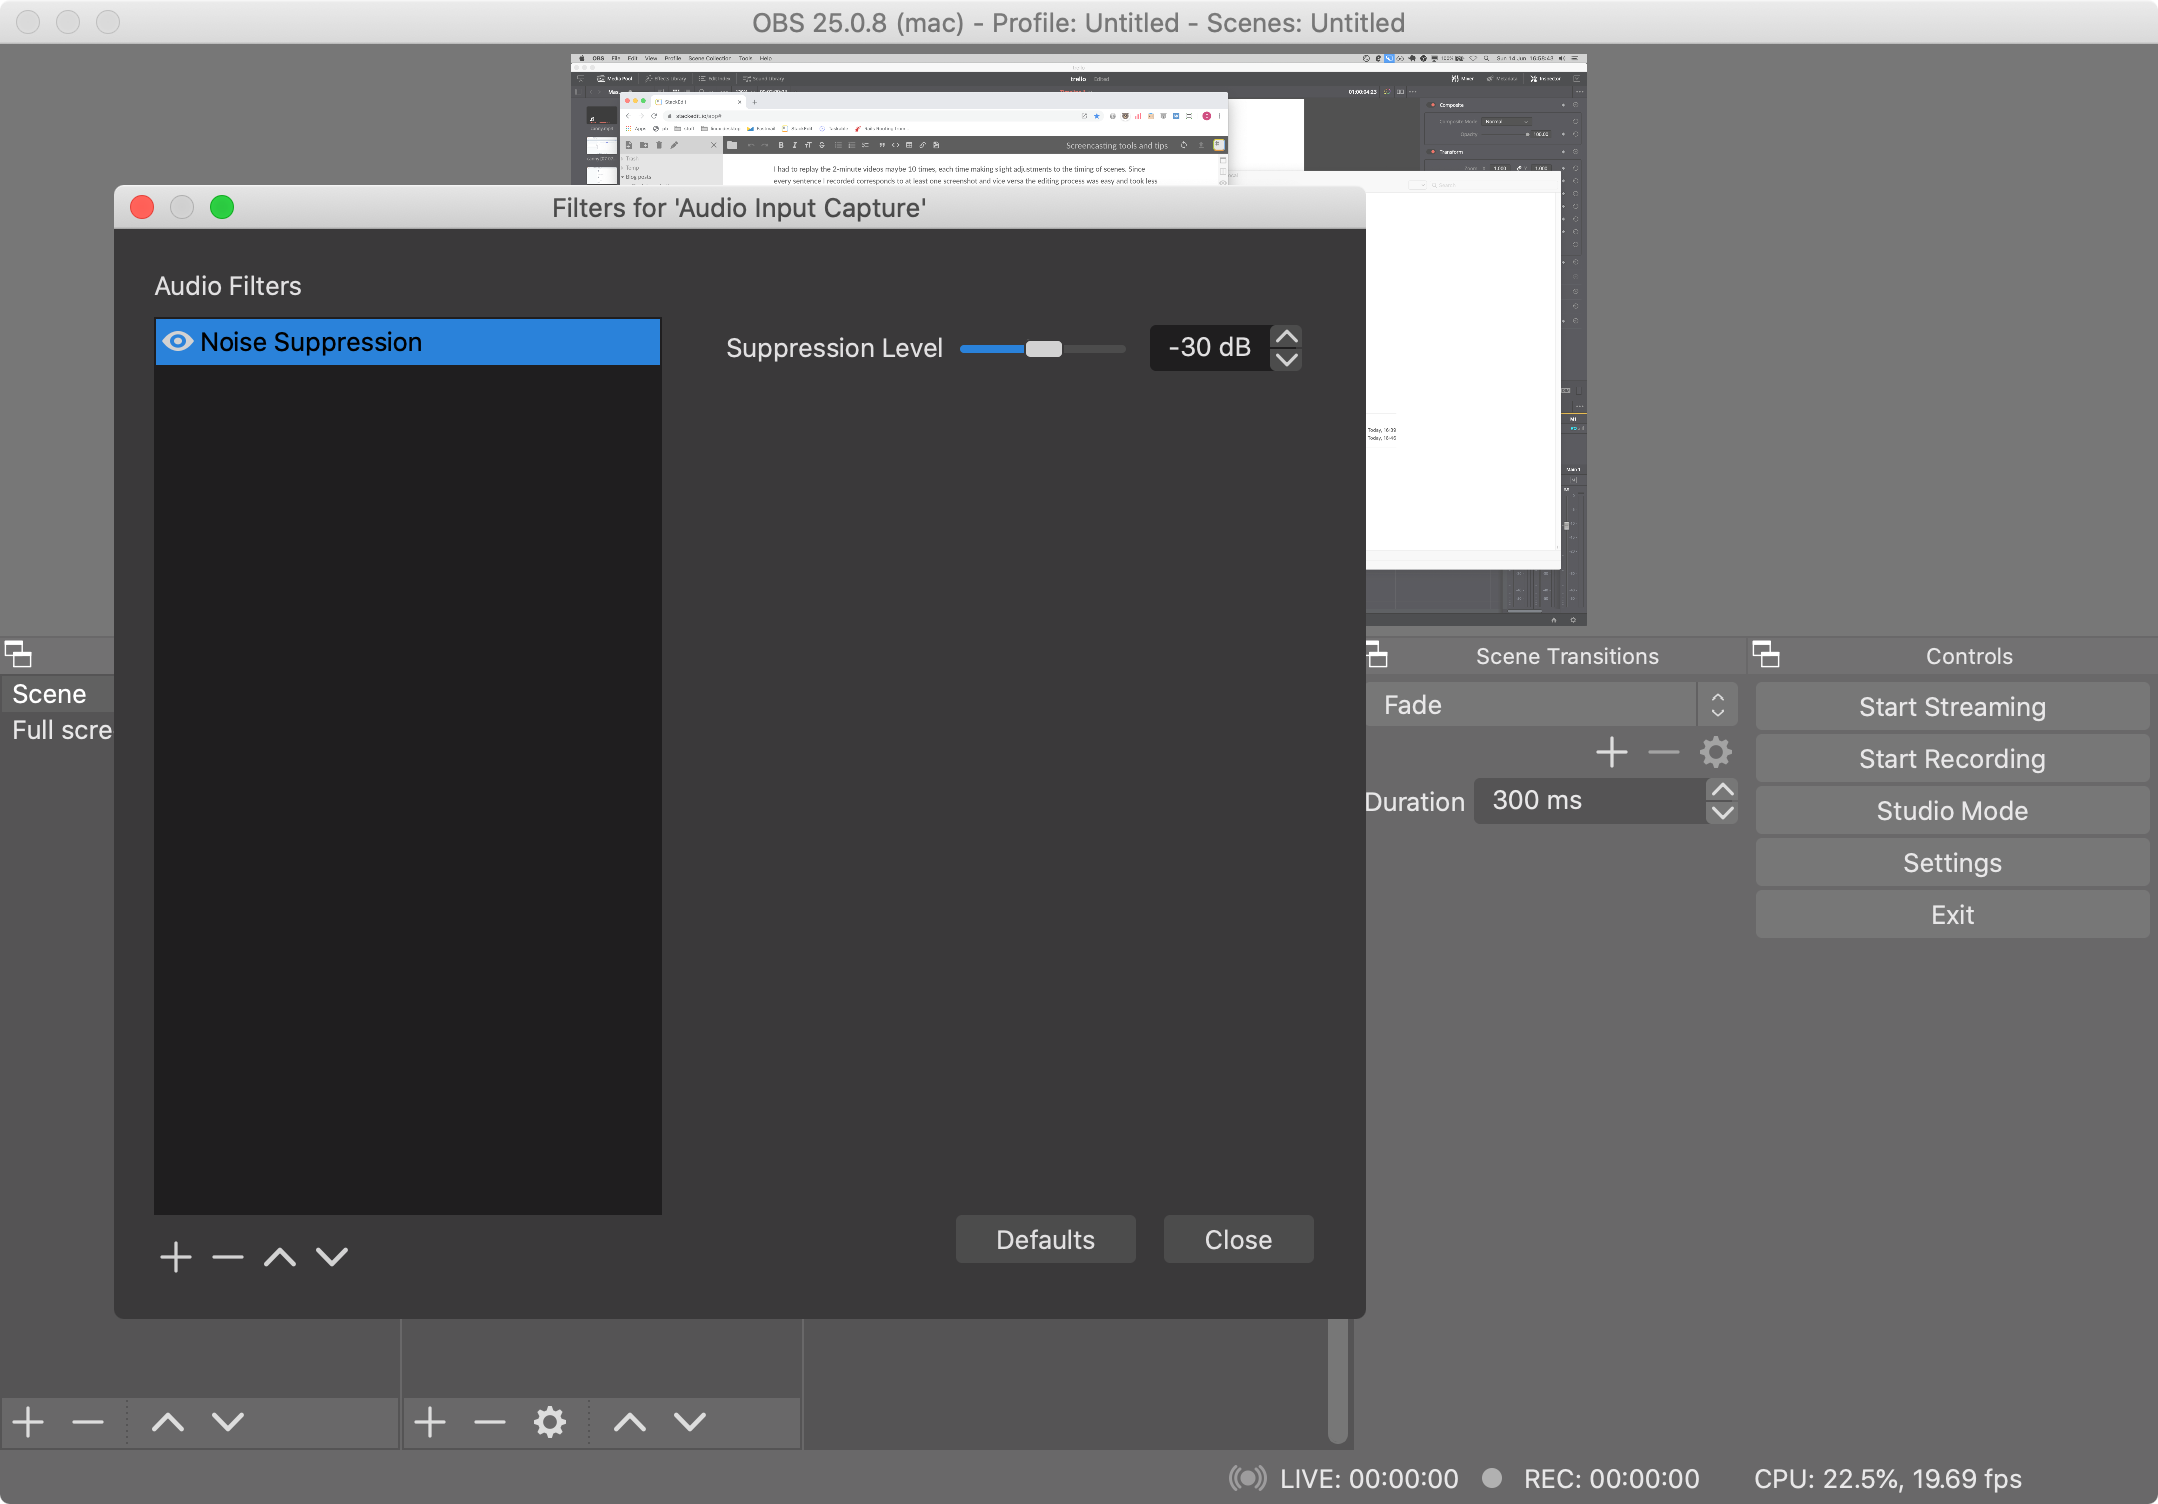
- Enable a noise reduction filter to suppress unwanted background noise. The difference is staggering! See below for a screenshot of the setting I use.
- Don't sit down while recording. Stand up, straighten your back, keep your head right to "give room" to your voice.
- Take a sip of water and take a few deep breaths.
- Read the script out loud once or twice before recording it.
- Hit the record button in OBS Studio. Start each sentence by stating its line number, followed by a brief pause. Sometimes I had to repeat the same paragraph several times before "hitting the right note". Every time I had to re-record the same thing I mentioned the line number again. This makes the editing process much easier. I now understand why they use a clapperboard when recording a movie.
If you're going to record multiple screencasts it's important to use the exact same audio levels for each recording. Also, make sure the distance to your mic stays more or less the same.
Editing
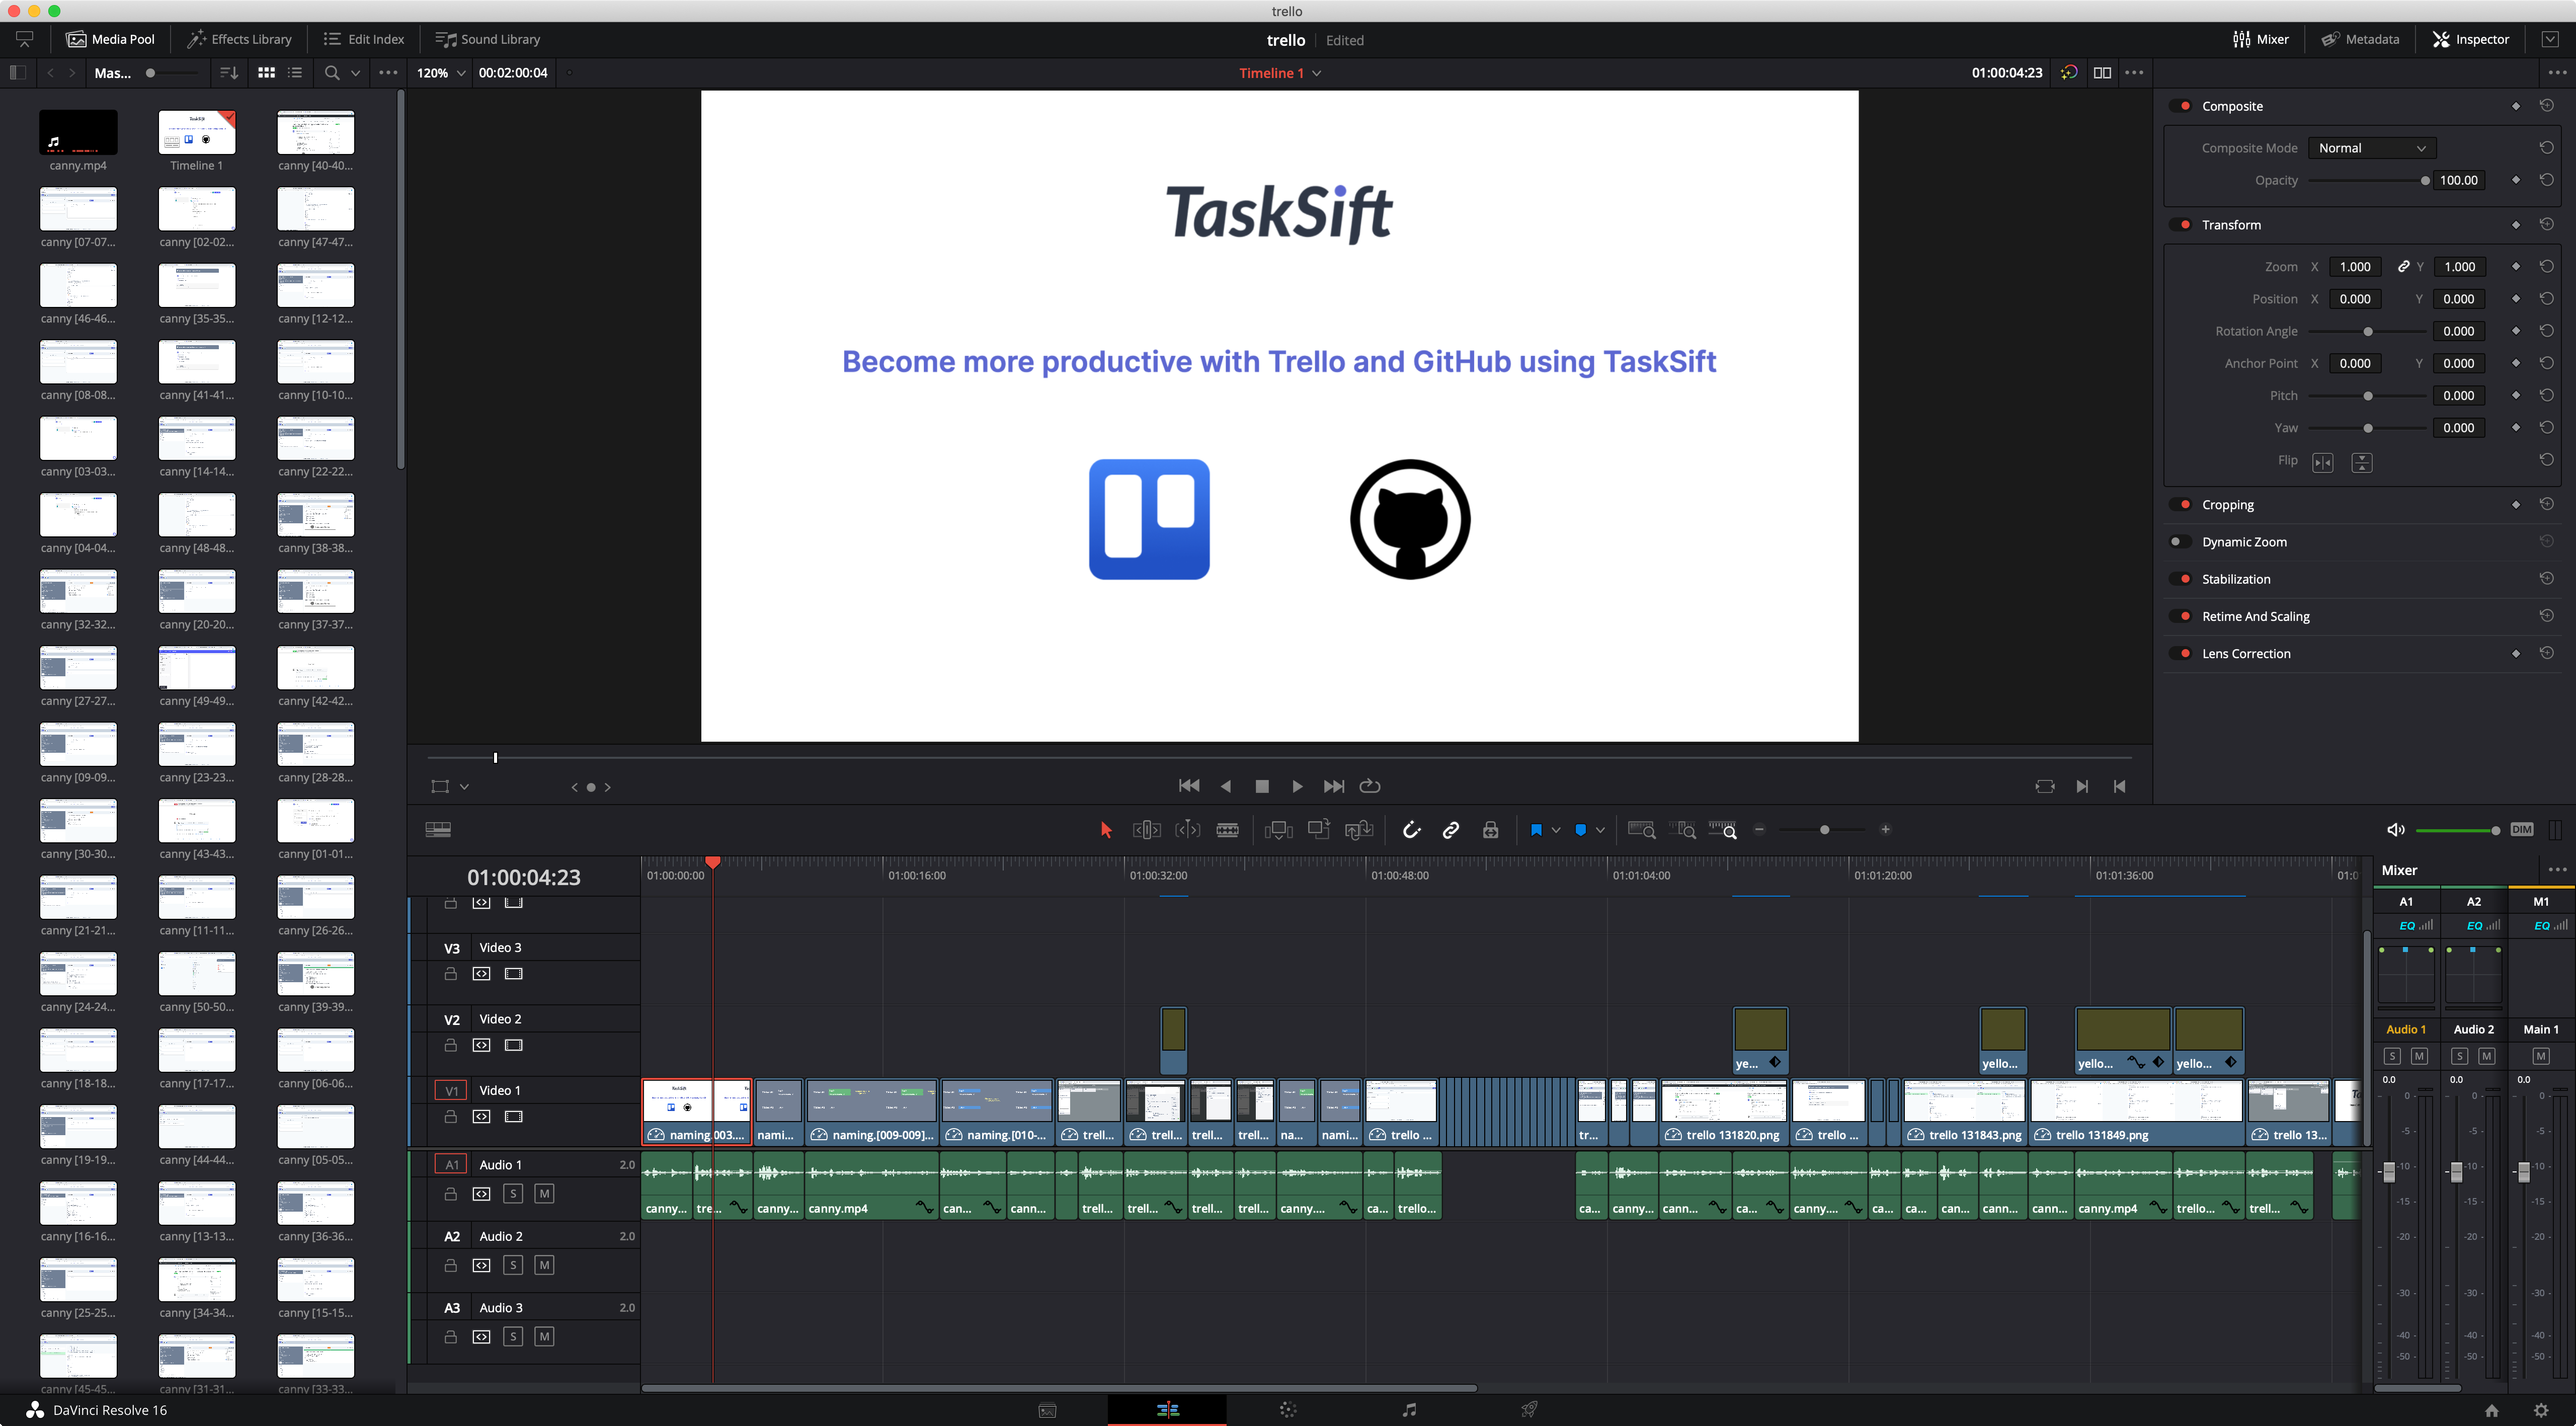
Once the base material was ready I sat down to edit the actual videos using DaVinci Resolve. I am using the free version which is available for Win/Mac/Linux. DaVinci Resolve is amazing but be prepared to spend an evening watching tutorials on YouTube to get the hang of it.
After some false starts I found this flow to work well:
- I imported the audio files with my voice recordings. I used four audio files for each of the videos (intro, outro, a quick overview for each video, and the actual audio recording of the script).
- I chopped the audio track into small pieces, carefully trimming each sentence to where the audio begins and ends. Zoom in to view the waveform so you can make precise cuts.
- I imported the screenshots and intro/outro stills. This is the point where you'll be glad you numbered each of your screenshots.
- I dragged each screenshot into the timeline while positioning and aligning them "on top" of each audio segment.
I had to replay each two-minute video maybe ten times, every time making slight adjustments to the timing of scenes. Since every sentence I recorded corresponds to at least one screenshot and vice versa the editing process was easy and took less than an hour per video. With every new screencast I got better at it, perhaps cutting it down to 45 minutes.
Bill of materials
- OBS Studio
- DaVinci Resolve
- USB Microphone
- Web Developer Chrome extension to resize the browser window to exactly the same size every time I created a bunch of screenshots.
Screenshots
OBS noise filtering setting (-30 dB):
DaVinci Resolve:
Script:
YouTube closed captioning editing tool:
End results (on YouTube)
